There are times when it may not be as simple to get images for the articles on your website. Let’s be honest – some niches are just harder to take custom images for than others.
Or, maybe you have unique images already, but you want to create additional visual elements to help your articles stand out even more and potentially get more traffic to your site.
This is where custom graphics come into play. Don’t worry – it’s not as hard as it sounds to create them.
Quick Navigation
How to Quickly Create Graphic Designs in Canva
I’m breaking down my basic graphic design instructions and showing examples of how to create designs quickly and easily for any type of post you have.
I’m sharing my 5 main design templates and the set of instructions I give a VA who has basic design experience to create all the graphics on my sites.
We’ll use lawnmowers as an example topic. Before I get started, here are a couple important tips:
Unique images are becoming more and more important. If you want help learning how to take amazing photos with nothing more than your phone, take a look at my course Website Photography Made Easy. I was a pro photographer for over a decade and made a course to teach content creators easy techniques!
Create Templates
Creating a few templates that you can use for all of your posts is key. This speeds up the process and keeps your site looking consistent. Consistency is key if you’re trying to establish your site as a brand!
What I’ve found to work best is that I create the 5 main templates shared below. Then, I have a VA with basic design experience clone them and create the individual graphics for my articles.
They’re provided all of the instructions you see below.
From that, they can look at the article, determine which template is best, and select the text and graphic elements for each one. It takes them 10-15 minutes per graphic, and seconds of my time to quickly review.
Well worth it, in my opinion.
Don’t want to create your own templates? You can use ours! Grab them here and customize them for your own brand – all you need is a Canva account (which is free)
Use Canva
I like to use Canva, because it’s simple and intuitive to use. I can also easily share design templates with the team and have them work on designs within the same project.
Also, within Canva, they have a decent library of graphics and images that you can use. When creating my graphics, I have the team use graphics found directly in Canva.
This also helps to streamline and speed up the process, since they can search directly in Canva.
For example, for all of the lawnmower designs you’ll see below, I found all of the graphics in Canva. This includes the background designs. I didn’t have to import any images ahead of time or search elsewhere for these.
Tools Needed
- List of articles you want to create graphics for (I recommend 1 graphic per article to start)
- Images you want to use in the graphics. If you already have some images, graphics, etc, that you want to include in your designs, that’s great. If not, I recommend using the images and graphics found in Canva’s database. They have several that are free to use that work just fine, along with even more images if you have a paid account with them
- Design tool, like Canva. I explained above why I like Canva and recommend it. Other options are tools like Photoshop or Illustrator
Ok, let’s get into the instructions and template examples.
Global Design Instructions
First, I have a set of global instructions. These are instructions that should be applied to all designs so that they all look cohesive on my website:
- Every graphic includes:
- A visual graphic (can be simple and found in Canva’s image/ graphics database)
- A main title/ heading
- Additional text
- Website logo
- We use the Playfair Display font, typically bolded and in all caps
- The “non-title” text font size should be around 65, with the title text notably larger
- Each graphic must have a margin on all sides – no text should be right up against the sides
- Have 2-3 backgrounds that are used for all graphics – they shouldn’t be overly busy and should include an element related to the niche. These backgrounds can be found in Canva
- All designs need at least one image/graphic included, and ideally, these should be found within Canva’s database to streamline the design process – within the “Elements” tab, just search for the item or product you want visuals of
You’ll see that of my templates below follow these global instructions. Plus, each template has a set of unique instructions for how to best use that template.
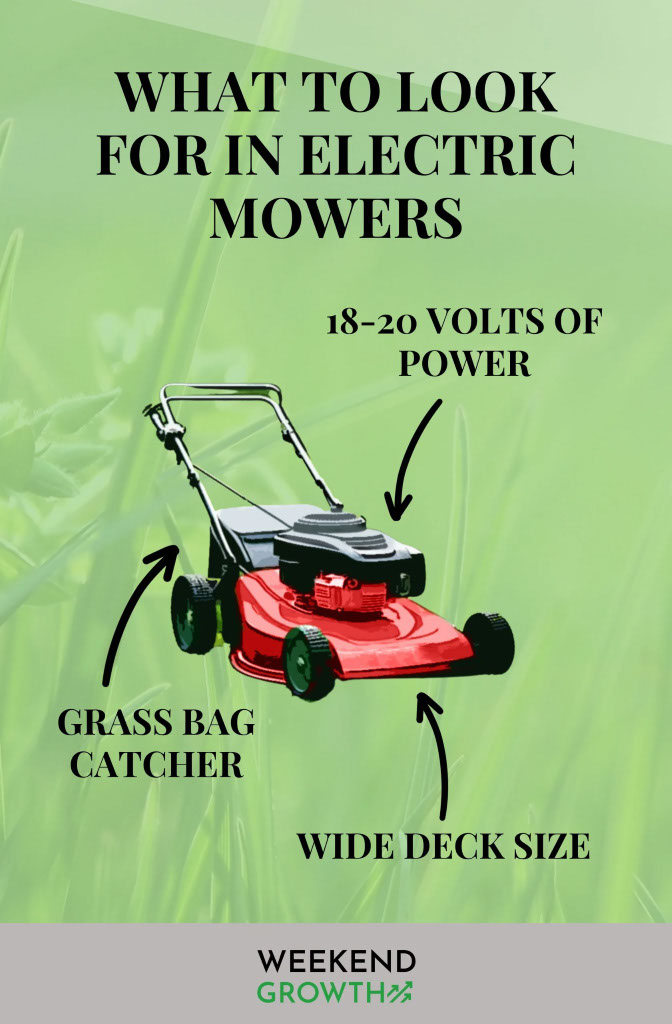
Template 1: Design Showcasing Features of a Lawnmower
This is one of my go-to design templates. It’s a great “general” design that can be used in a variety of posts. The design doesn’t have to be focused on what the exact blog post topic is – the goal is to just provide a visual overview of the product and highlight a few of the features.
Basic Instructions:
- Title format: “What to Look for in [Type of Lawnmower]” or “Features of [Type of Lawnmower]”
- Graphic: Include a single graphic of the type of lawnmower we’re focusing on
- Details: Present 3-5 features of the lawnmower and balance the use of white space
- Types of articles used for: Buying guides, individual reviews, informational articles
Template 2: Design Indicating When/ Why to Use a Particular Lawnmower
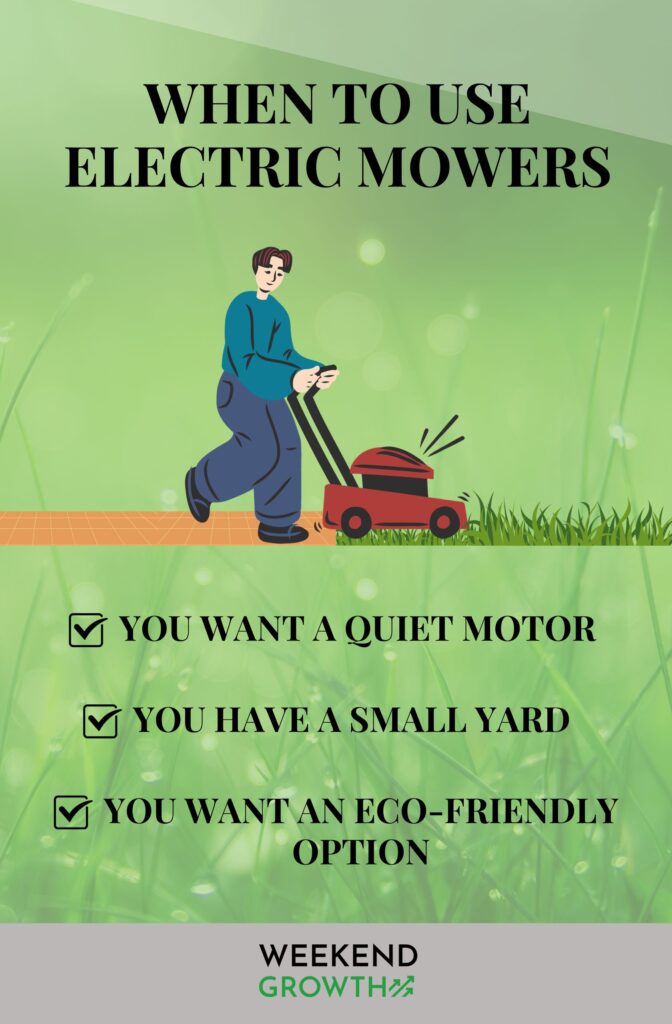
This is another great “general” design template that works in several articles. Oftentimes, I’ll use this one and Template #1 interchangeably.
Just like Template #1, the design doesn’t necessarily need to be focused on the main topic of the article, as long as the lawnmower in the design is one talked about in the article.
Here are some example article topics that a design like this could work in:
- What is an electric lawnmower?
- How to use an electric lawnmower
- How electric mowers work
Basic Instructions:
- Title format: “When to Use [Type of Lawnmower]” or “Why Use [Type of Lawnmowers]”
- Graphic: Include a graphic of the type of lawnmower we’re focusing on
- Details: Include 3-5 bullet points of information and utilize white space efficiently
- Types of articles used for: Informational articles, individual product reviews
Template 3: Compilation Graphic Illustrating Different Types of Lawnmowers
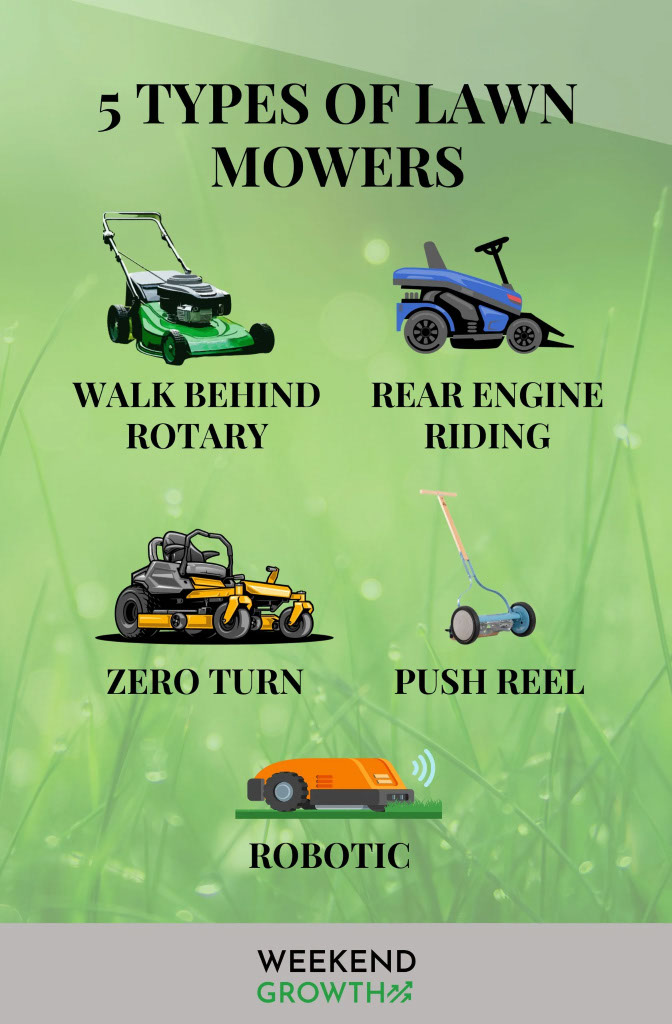
This template is the most image-heavy one, with the goal being to showcase several lawnmowers. This allows readers to get a good visual of how different lawnmowers might look compared to one another. It’s especially helpful if you don’t have images of the items in the post anywhere else.
With this design, just be careful not to make it overly crowded with too many items. If it’s too busy, the graphic won’t look good and can be overwhelming for people to look at.
Basic Instructions:
- Title format: “Different Types of [Lawnmowers]” or “X Typers of [Lawnmowers]”
- Graphic: Include a graphic image of as many types of lawnmowers as possible
- Details: Each lawnmower type should be paired with an image and the model’s name
- Types of articles used for: Buying guides, informational articles, versus articles comparing 3+ items
Template 4: Design Highlighting the Answer to a Main Question
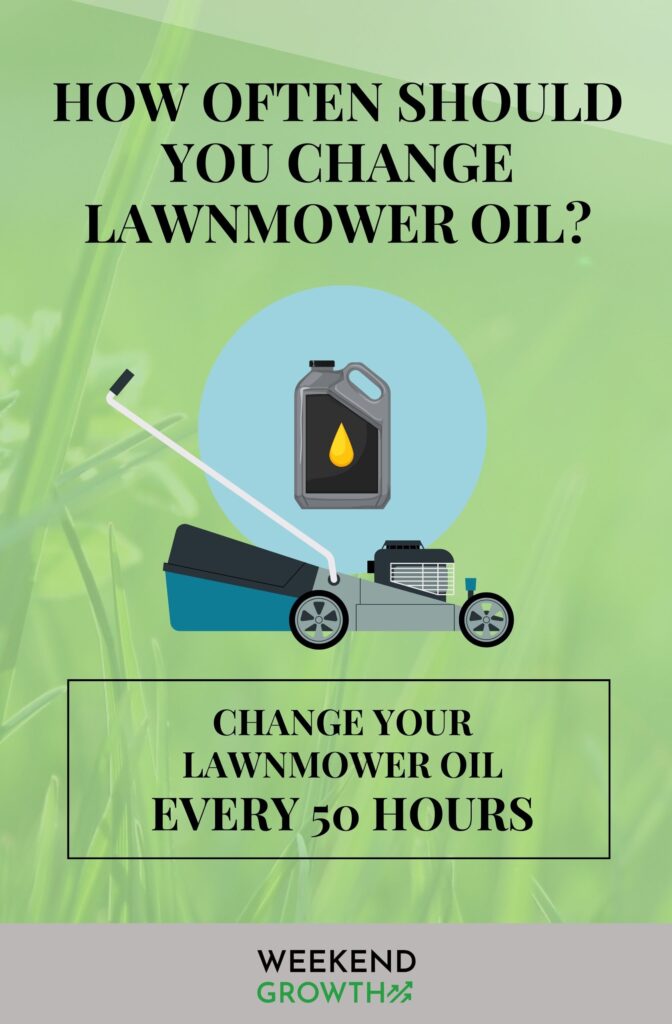
The goal of this template is to clearly and concisely answer the main question that the article is about, along with including a graphic that visually represents the topic. While your article should have this question thoroughly answered, readers should be able to look at the graphic and know what the “short” answer to the question is.
I recommend placing this graphic near the top of your article (ideally, after the main heading and paragraph where you answer the question in more detail).
Basic Instructions:
- Title format: Extracted directly from the blog post title
- Graphic: The graphic should visually demonstrate the topic at hand as best possible
- Details: Include a text box below the image. For the text within the box, this is the “answer” to the question in the title, taken from the blog post. The answer must be clear and concise
- Types of articles used for: Informational and response-style articles
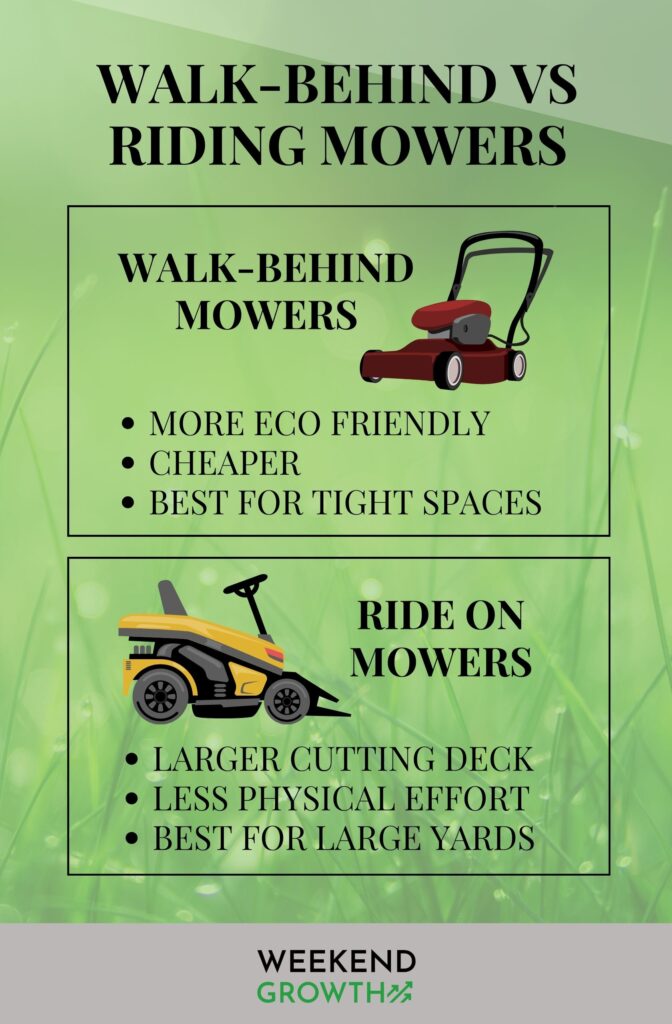
Template 5: Comparison Graphic
With this design, the goal is to showcase 2 products (in this case, lawnmowers) and highlight 3-4 distinguishing features of each. These are features that you’re talking about in detail in your article, and the graphic is a quick way to easily see how each lawnmower compares to the other.
Basic Instructions:
- Title format: Includes the items being compared, e.g., “Riding Mower VS Walk-Behind Mower”
- Graphic: Include a graphic of each type of lawnmower
- Details: Include 2 text boxes (one for each lawnmower). In the boxes, include the name of the mower, the graphics, and 3-4 features of each lawnmower. Balance the use of white space
- Types of articles used for: Versus articles
Final Thoughts
Most agree that adding custom graphics is one of many ways to better engage your audience, which helps your site stay ahead of the HCU.
While I have a photography background and teach how to take solid photos for your site using an iPhone and DSLR, I’m no graphic designer (and that’s ok!). My designs are good enough. I make sure they add value to the post and add a unique element that can make my article stand out.
As you can see from my template examples, they’re not overly detailed. I keep them simple enough so 5 templates can work for any article I publish, and so that a VA can create the designs.
Remember, you can grab our Canva templates here, tweak them, and use them on your own sites!

