This is exactly how I’m creating this “newsletter style” content using a combination of ChatGPT and Cuppa. And, if you use other tools like Koala or Gemini, the same concepts can be applied. Let’s get started!
Quick Navigation
1. Generate an Outline with ChatGPT
Once I’ve determined a topic I want to write about, I first use ChatGPT to generate an outline.
You might be wondering why I don’t have Cuppa automatically generate the outline for me within its platform. To be clear, Cuppa CAN create an outline, and for some topics, it does a great job.
However, I’ve found that the key to consistently getting a good article out of the gate with Cuppa is to make sure the outline is detailed and fully covers the topics I want included. With ChatGPT, I can go back and forth with it until I’ve refined the outline to where I like it, and then I can easily feed that into Cuppa.
Let’s put this into play with an example. If we had a fitness “newsletter style” site, we might write an article about “7 Summer Outdoor Workout Ideas for Warm Weather.”
In ChatGPT, I’d use a prompt like this to generate the outline:
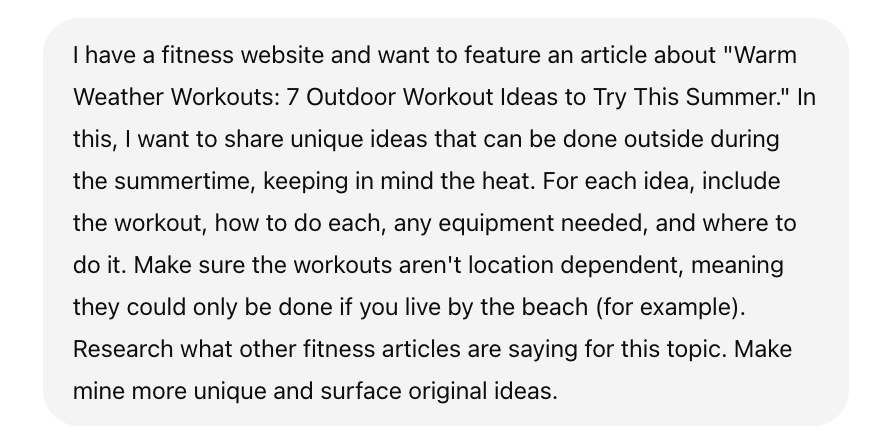
By using ChatGPT for the outline, I can tell it what I want to be included with each workout. I can also specify that I don’t want these tips to be super location-specific since my readers are likely all from different geographic areas.
You could even take this a step further. For example, if your readers mostly fall into a general age range, you could add that into the prompt so your outline becomes more specific for that group of people.
Note: Both ConvertKit and MailerLite have a polling feature within their emails, making it incredibly easy to gather more information about your readers quickly. You can use this to ask polled questions and learn about subscribers’ demographics, interests, etc, and then tailor content based on this. Definitely worth checking out!
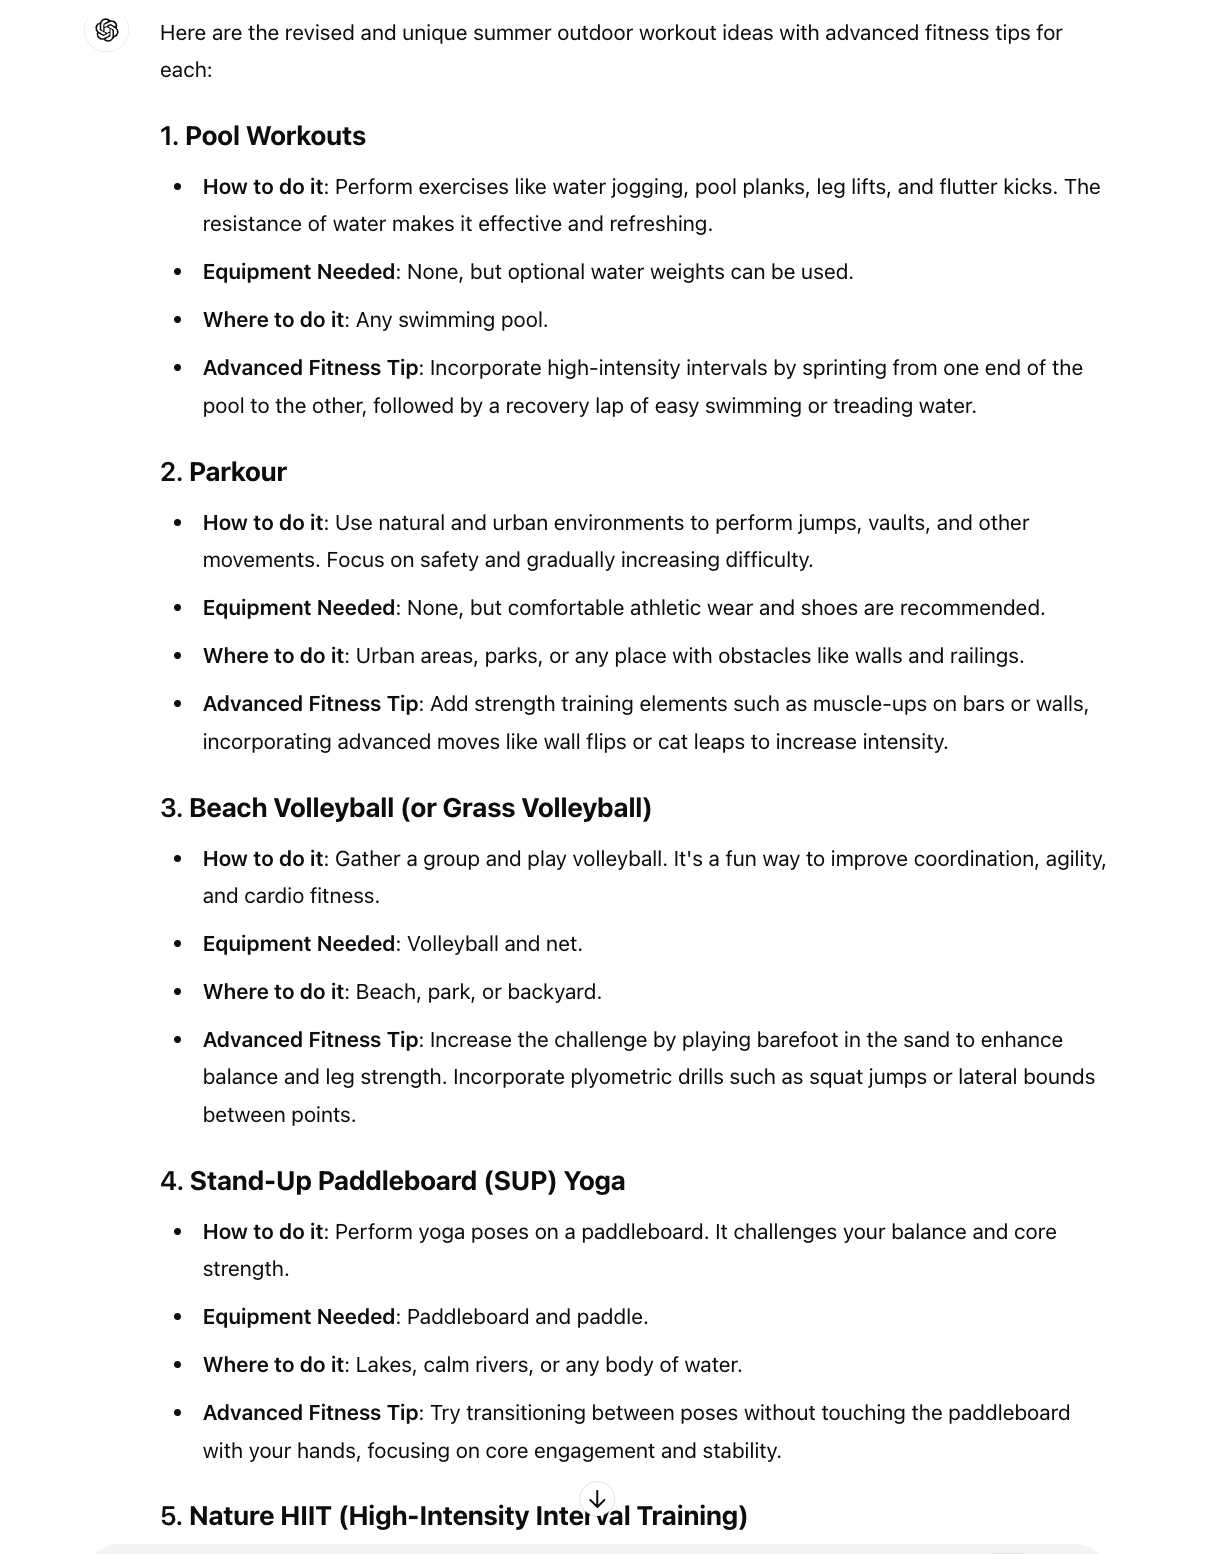
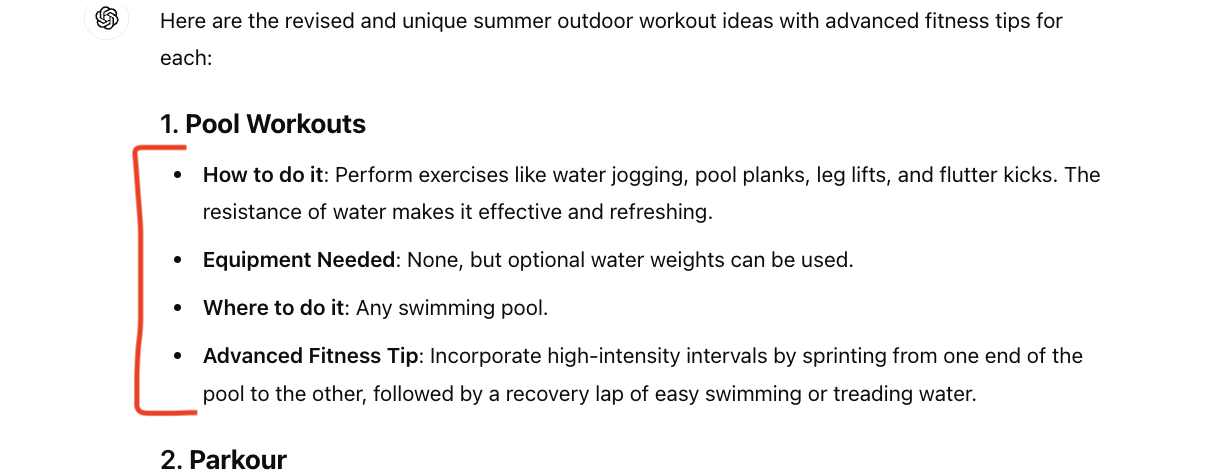
After going back and forth with ChatGPT a couple of times, this is what the outline looked like:
2. Use Cuppa to Create the Article
Now that I have an outline generated, I’ll go over to Cuppa to build out the article.
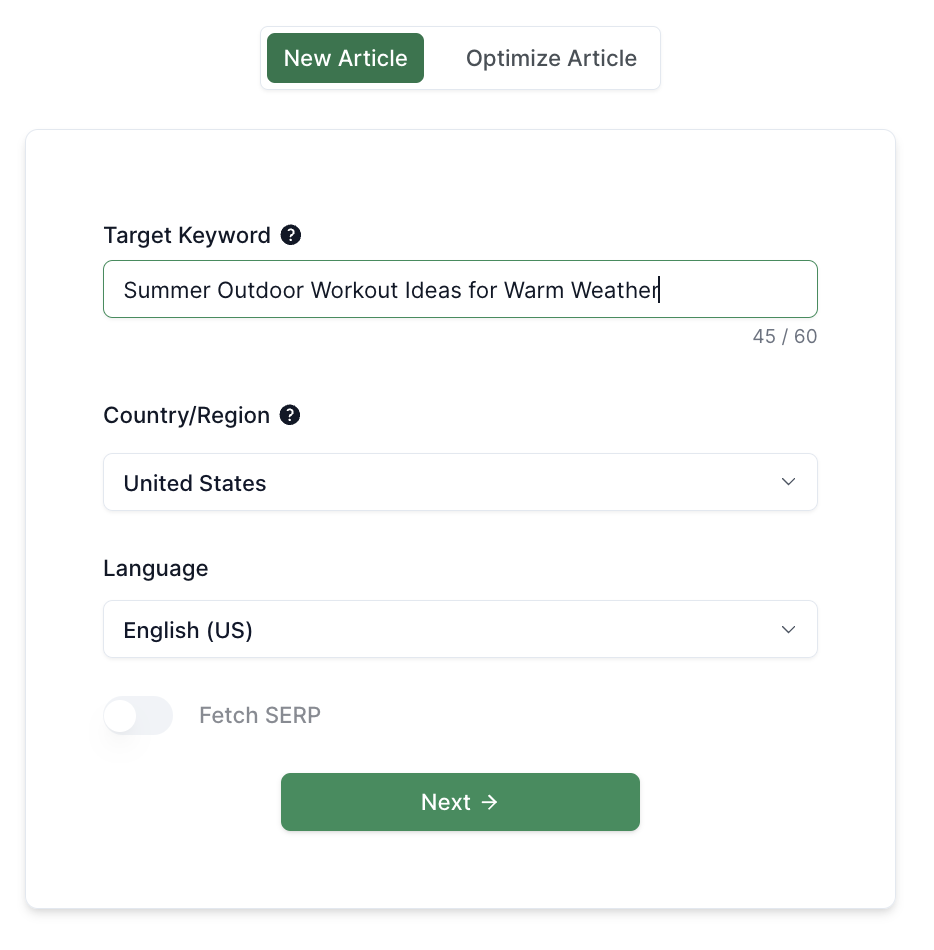
I’ll select “New Article” and add in my target keyword. Since I’m not worried about what’s ranking on Google, I don’t find it necessary to fetch the SERPs.
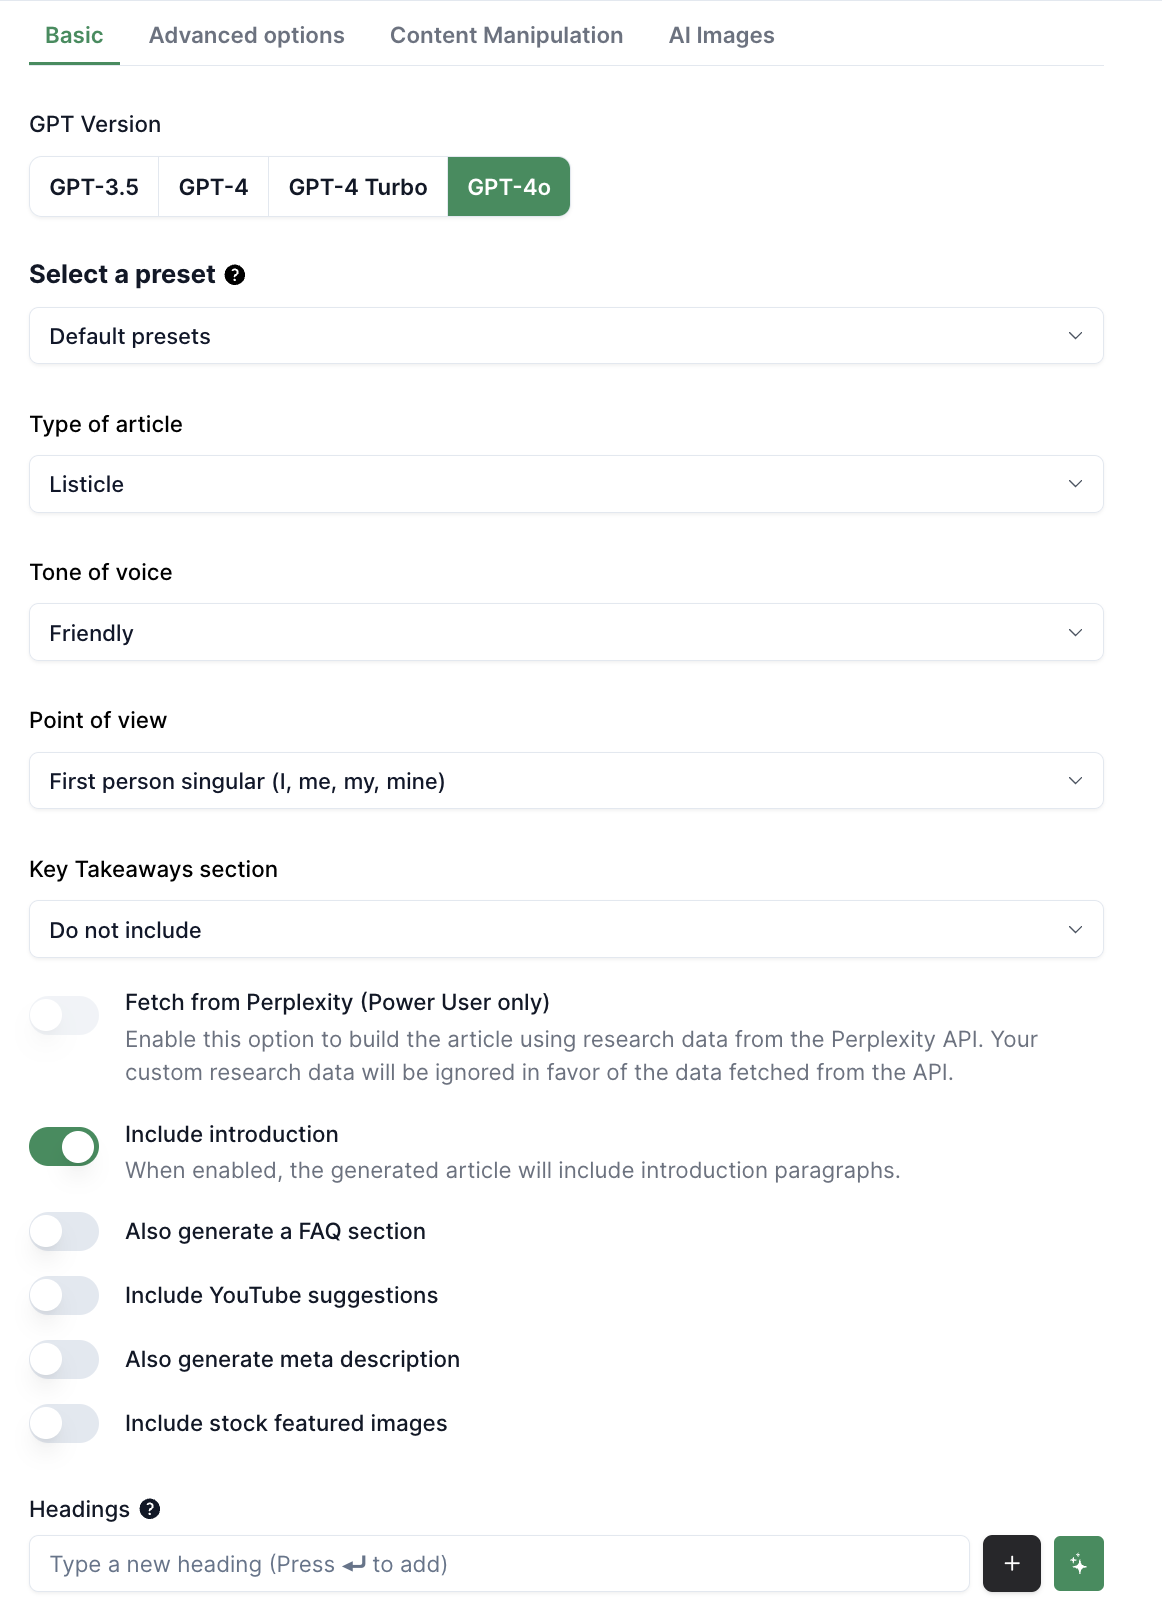
Under the Basic tab, I keep it pretty simple:
- GPT Version: GPT-4o (or whatever the newest version is at the time)
- Preset: I keep mine to default since there are so few settings I’m adjusting for newsletter-style articles. But, you could build out a preset if you wanted
- Type of article: Pick the one that makes sense based on your topic. In this case, “listicle”
- Tone of voice: I find that “friendly” works well
- Point of View: First person singular
- Key Takeaways: I keep this set to “do not include” because I think the article looks more like one created for SEO when the takeaways are included
- Additional prompts with toggles: I toggle on “Include Introduction” and keep everything else toggled off
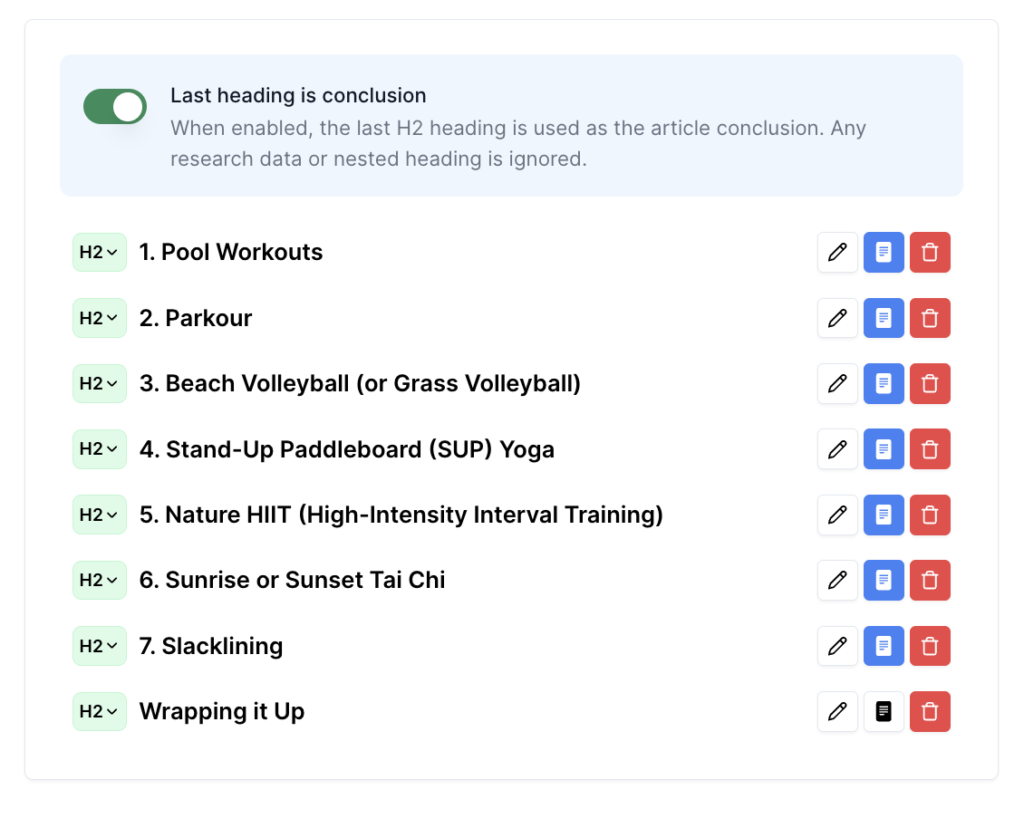
For the “Headings,” this is where I’ll copy/paste the details from ChatGPT.
In this case, I’d enter each of the 7 main topics as a new heading, along with a conclusion heading.
Now, we need to add in the additional details about each heading that ChatGPT provided.
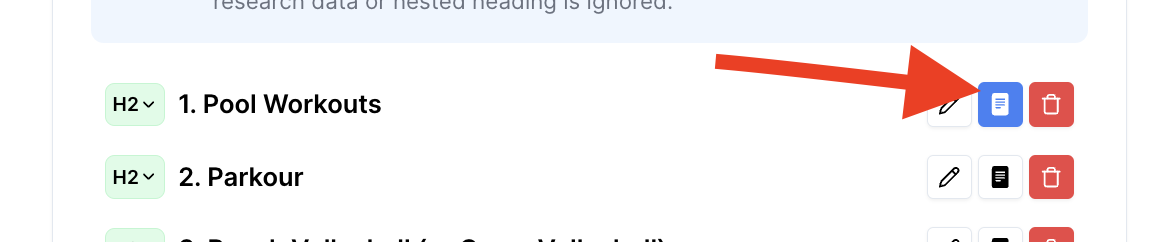
Click on the “notes” icon next to a heading in Cuppa, and this will open up a window for you to add in more research data about the topic.
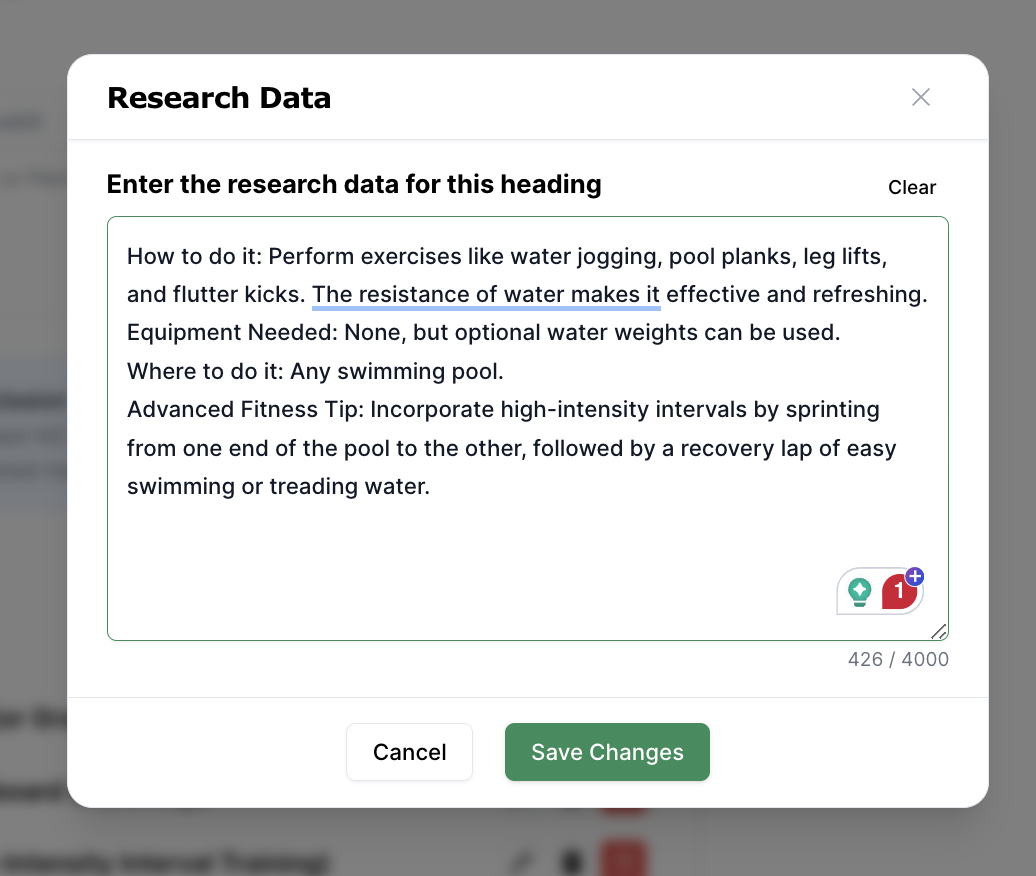
As you can see below, I just copy/paste the details from ChatGPT directly into this window.
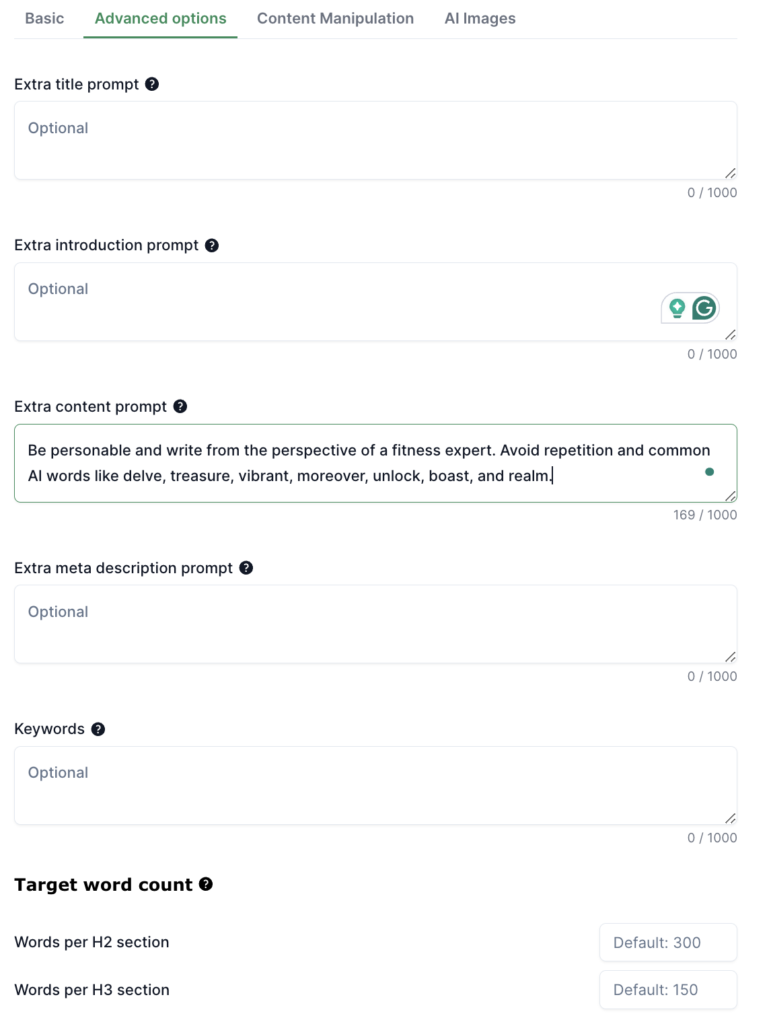
Once I’ve done that for all of the headings, I move over to the “Advanced options” section. The only thing I do here is to update the Extra Content Prompt to help make the content a little more personable and give Cuppa certain AI words to avoid.
From here, I’m ready to generate the article.
As a note, you could have Cuppa generate AI images for the article if you wanted to, though you need to be a Power User if you want more than one image. Currently, I use a mix of unique images I’ve taken and ones generated by Midjourney, but Midjourney can be cumbersome at times (and is a separate subscription and platform).
Depending on your niche, upgrading to Cuppa’s Power User might be worth it to have it automatically generate images for your articles. You could also upgrade for a month just to try it out and see if it’s worth it for you.
3. Review and Finalize Output from Cuppa
Once Cuppa generates the article, I read through it to make sure it looks accurate and doesn’t sound too much like AI. Remember, I’m not trying to get this article to rank, but I still want it to sound realistic, authentic, and have good tips throughout.
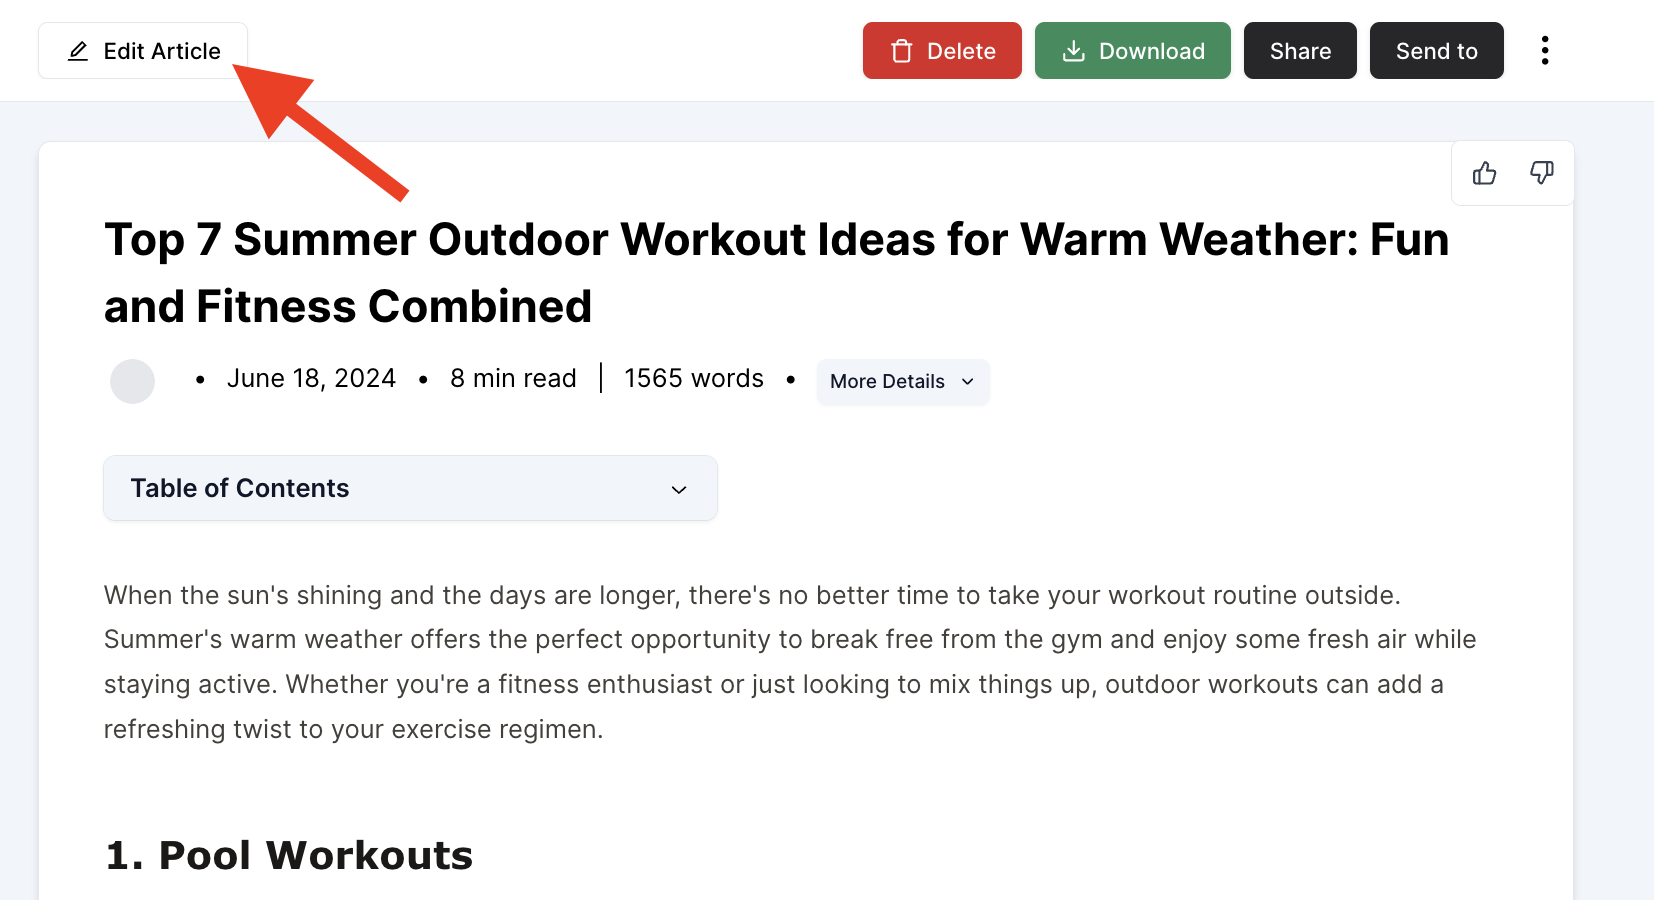
One thing I love about Cuppa is how easy it is to edit the article directly within their platform. I can click “Edit Article,” and I’m taken to another module to make changes.
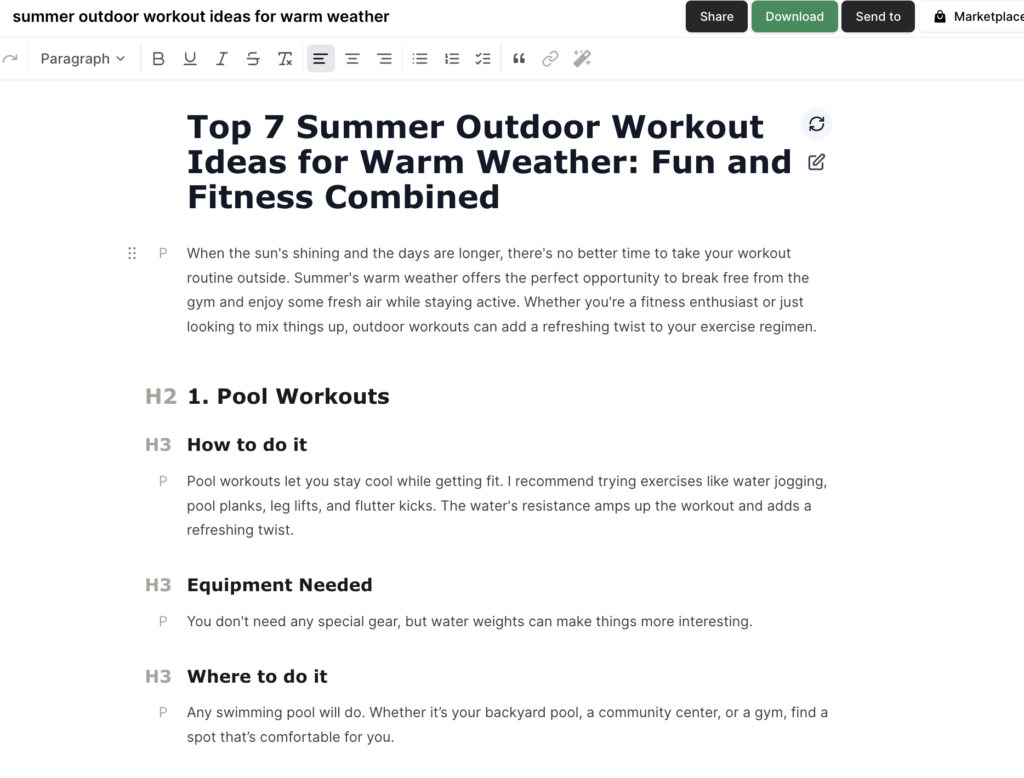
Honestly, I don’t spend much time making many changes. I clean up the heading structure a bit, look for any sentences that sound too much like AI, and add a personal insight or two on the topic.
For this example article, I made a few changes to it, but not many. If you’re curious to see the article, you can check it out here.
Are there parts that sound a bit like AI? Sure, but I’m also very aware of AI, and it sticks out to me. To an average reader, this is going to look fine.
4. Final Steps
At this point, the article is ready to send to a VA to have them add images, do some basic internal linking with Link Whisper, and publish the article on my site.
As you can see from my example, Cuppa paired with ChatGPT works well for this type of content. This process is very simple to streamline and it’s easy to create content fast.
And, as I mentioned, there are other tools like Gemini and Koala that you can use as well. We’re constantly testing all of these to see what produces the best results for the articles we’re writing. You can see a test we did on Cuppa vs Koala to learn more.
If you try this out, let me know! Or, if you’ve found other tools that help produce “newsletter style” content, I’d love to hear them.